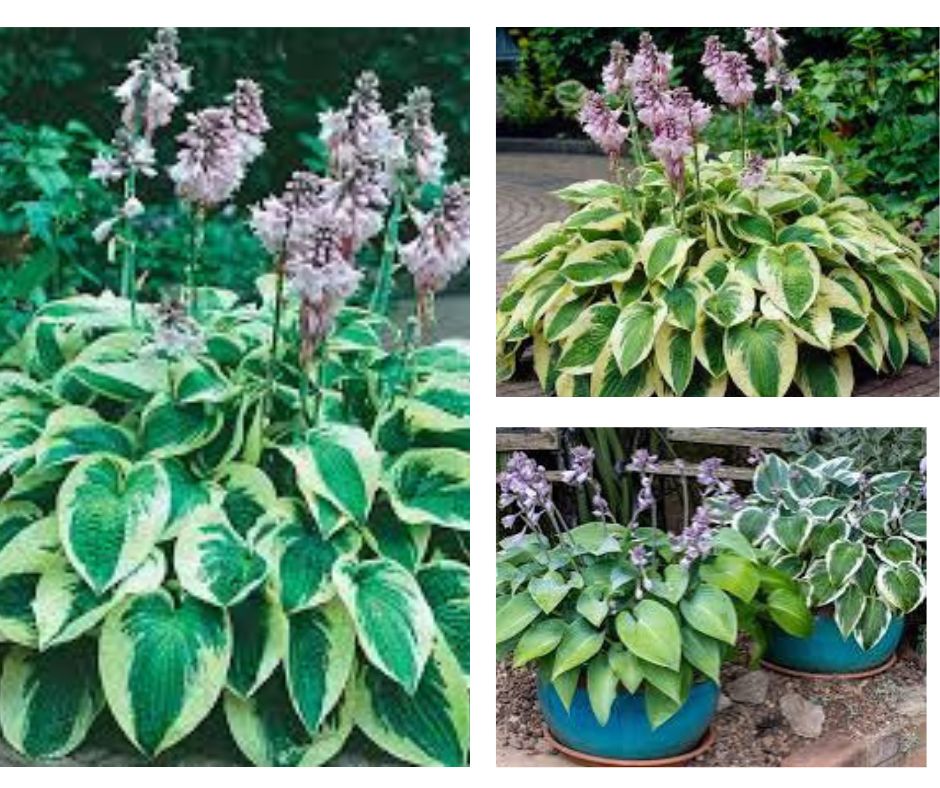
Every autumn, as the days grow shorter and the leaves begin to scatter across my garden, I find myself turning my attention to my hostas. These leafy beauties are one of my favourite plants—they bring such elegance and texture to the garden. But if I’ve learned anything over the years, it’s that a little TLC in the autumn can set your hostas up for an even more spectacular show next spring.
I used to ignore them during the fall, thinking they’d fend for themselves, but that was a mistake. Leaves would rot, slugs would hibernate in the mess, and the plants always seemed less vibrant come spring. After some trial and error, I’ve cracked the code for simple fall hosta care that works. Let me walk you through my 7-step routine—it’s easy, I promise!
1. Cut Back the Foliage at the Right Time
As tempting as it is to tidy up straight away, I’ve learned to wait until the first frost. That’s when the leaves naturally start to die back and turn yellow or brown. Cutting them too early can stress the plant, and leaving them too late invites pests and diseases.
I grab my trusty garden shears and cut the leaves down to about two inches above the ground. It feels a bit brutal, but trust me, your hostas will thank you.
2. Clean Up Debris
Once the foliage is trimmed, I make sure to clear away any dead leaves, stems, or weeds around the plant. This is crucial. A messy garden bed is like an open invitation for slugs, snails, and other nasties to set up camp. I used to skip this step, and I’d regret it every spring when I found chewed-up leaves.
3. Divide Overcrowded Hostas
If your hostas have been in the same spot for a while and are looking a bit cramped, fall is the perfect time to divide them. I admit, the first time I did this, I was terrified I’d ruin the plant. But hostas are tough as nails.
I dig around the clump, lift it carefully, and use a sharp spade to slice it into sections. Each section needs a bit of root and a few “eyes” (those little nubs that will sprout in spring). Replant the divisions straight away, and water them in.
4. Add a Layer of Mulch
Mulching is like tucking your hostas in for the winter. I spread a two- to three-inch layer of organic mulch—like shredded leaves or compost—around the base of the plants. This keeps the soil temperature steady and prevents frost heave (when the soil pushes the roots up as it freezes and thaws).
I’ve noticed my hostas always come back stronger when I mulch properly. It’s a simple step that makes a huge difference.
5. Protect Against Frost Damage
In my earlier gardening days, I lost a few hostas to harsh winters. Now, if the weather forecast looks especially brutal, I add an extra layer of straw or even use a frost blanket. It might seem like overkill, but it’s worth it if you live in a colder climate.
6. Watch Out for Pests
Slugs are the bane of any hosta lover’s existence. During the fall cleanup, I sprinkle some organic slug bait around the beds and check for any lurking critters. I’ve even resorted to handpicking slugs in the evening (with gloves, of course—it’s gross but effective).
7. Feed the Soil, Not the Plant
Hostas don’t need fertiliser in the fall, but the soil does. I like to mix in some well-rotted compost or a slow-release organic fertiliser to enrich the bed. Healthy soil means happy plants, and I’ve noticed a big improvement since I started focusing on soil care.
The Reward Is Worth It
There’s something so satisfying about walking into the garden in spring and seeing those hosta shoots poking through the soil, knowing you’ve set them up for success. My hostas are fuller, healthier, and more vibrant every year because of the effort I put in during the autumn.
So, grab your gloves, shears, and a warm cup of tea for those chilly gardening sessions, and give your hostas the care they deserve. Trust me, you’ll be thanking yourself when they’re the stars of your garden next season!

